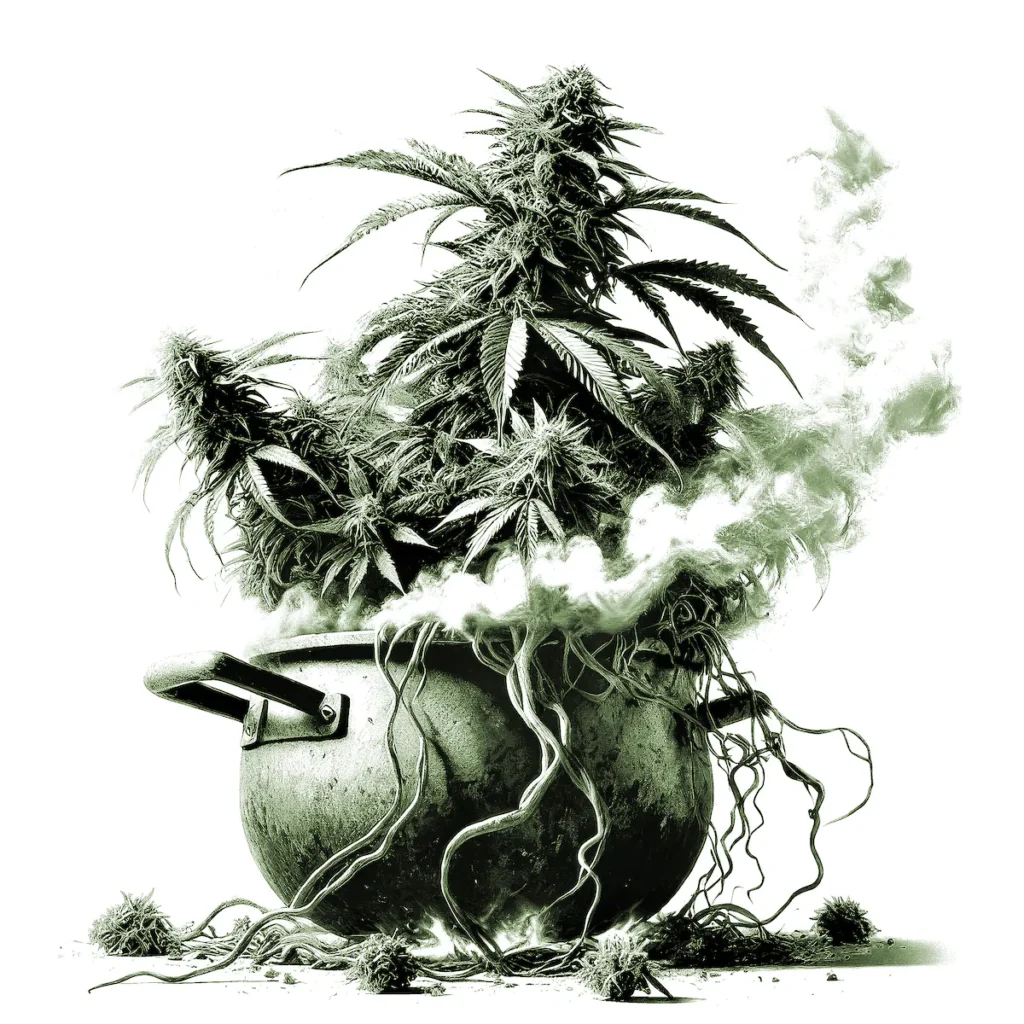
Transplanting is a crucial step in cannabis cultivation. Done correctly, it promotes root expansion, enhances nutrient uptake, and supports overall plant growth. Without transplanting, plants can become root-bound, stunting growth and reducing yields.
| 1. | Root expansion | Plants outgrow their pots quickly and need space for healthy root systems. |
| 2. | Nutrient absorption | Fresh medium replenishes nutrients and improves plant health. |
| 3. | Improved drainage & aeration | Larger pots allow better water flow, oxygen, and overall plant vitality. |
Each growth phase has specific transplanting needs. Understanding these requirements will help ensure you provide the best environment for your plants at each stage.
| Phase | Pot size | Frequency |
| Germination | Plugs/cubes | No transplanting needed |
| Use small containers for controlled moisture and humidity. | ||
| Seedling | 0.5–1 L | After 1–2 weeks |
| As roots begin to peek through drainage holes, transition to larger pots. | ||
| Early Vegetation | 3–5 L | 1–2 weeks post-seedling |
| Use pots with aeration (e.g., fabric or air pots) to encourage rapid growth. | ||
| Main Vegetation | 10–15 L | After root-binding signs |
| Ensure ample space for root growth during peak vegetative stage. | ||
| Late Vegetation | 15–20 L | Rarely necessary |
| Transplant only if necessary to sustain the plant through pre-flowering and flowering. | ||
Transplanting requires careful handling to avoid root damage and minimise transplant shock. Follow these steps to ensure your plant’s roots have the best environment to thrive.
| Medium | pH-adjusted (Soil: 6.0–6.5). |
| Pots | Fabric or plastic pots with excellent drainage. |
| Tools | Sterilised scissors, gloves, and beneficial microbes (e.g., mycorrhizae). |
| Water | pH-balanced water (6.0–6.3) at 21°C (70°F). |
Hydroponic systems provide an inert growing medium that delivers nutrients directly to the plant roots. Successfully transitioning seeds into a hydroponic setup requires careful handling to avoid damage to the delicate roots.
| 1. | Choose the Right medium |
|
|
| 2. | Prepare the medium |
|
For Rockwool cubes:
|
|
|
For expanded clay pebbles (Hydroton):
|
|
| 3. | Handle the seed with care |
|
|
| 4. | Place the seed in the medium |
|
For Rockwool cubes:
|
|
|
For expanded clay pebbles (Hydroton):
|
|
| 5. | Transition to the hydroponic system |
|
| 1. | Nutrient solution |
|
|
| 2. | Watering frequency |
|
|
| 3. | Lighting |
|
|
| 4. | Humidity and Temperature |
|
| 1. | Wilting seedlings | |
| CAUSE | Overwatering or poor aeration. | |
| SOLUTION | Ensure proper drainage and aeration; reduce watering frequency. | |
| 2. | Slow root development | |
| CAUSE | High temperatures or low oxygen. | |
| SOLUTION | Lower water temperature to 18–20°C (64–68°F) and use air stones. | |
| 3. | Yellowing leaves | |
| CAUSE | Nutrient deficiency or pH imbalance. | |
| SOLUTION | Adjust pH to 5.5–6.0 and slightly increase nutrient strength. | |
| 4. | Algae growth on medium | |
| CAUSE | Excess light on medium surface. | |
| SOLUTION | Cover the medium with opaque material (e.g., black plastic). | |
Although hydroponics requires careful preparation, it offers an efficient and reliable method for cultivating healthy plants from seed to harvest.
Transitioning cannabis plants from one substrate (e.g., hydroponics) to another (e.g., coco/perlite or soil/perlite) can be challenging but is sometimes necessary. Proper preparation, handling, and an understanding of the risks are critical to plant survival.
| 1. | Preconditions and precautions | |
| Healthy root system | Ensure roots are free from disease or damage, as unhealthy roots will struggle to adapt. | |
| Gradual adaptation | Gradually adjust humidity, temperature, and lighting conditions to avoid shock. | |
| Preparation | Match the pH and EC levels of the new medium to the current substrate. | |
| 2. | Steps and tips | |
| Prepare the new container | Use a well-aerated substrate like coco coir with perlite or soil with perlite. Ensure good drainage and pre-soak the medium with nutrient-adjusted water. | |
| Minimise root disturbance | Gently remove the plant from its current medium. For hydroponic roots, rinse carefully to remove debris that may affect the new environment. | |
| Post-Transplant Watering | Water thoroughly to eliminate air pockets around the roots and reduce stress. | |
| 3. | Potential risks | |
| Root shock | Sudden changes in substrate, pH, or nutrient availability can delay growth or cause wilting. | |
| Drainage issues | Ensure the new medium provides similar or improved drainage to prevent overwatering and root rot. | |
| 4. | Timing | |
| Reasons | Equipment malfunction, poor substrate performance, space limitations, etc. | |
| Best Time | Early vegetative stage, as plants recover more easily during this phase. Avoid transplanting during flowering, as stress can significantly reduce yields. | |
It prevents plants from becoming root-bound and supports healthy growth.
When roots peek through drainage holes or show signs of being root-bound.
The cluster of roots and soil around the base of the plant.
It’s better to use progressively larger pots to avoid overwatering issues.
Handle plants gently and maintain stable environmental conditions.
Fabric pots or those with good drainage are ideal.
No, fresh medium usually has sufficient nutrients for a short time.
Water lightly and allow the medium to drain fully.
Yes, but sterilise them first to prevent contamination.
Beneficial fungi that enhance root nutrient absorption and resistance to stress.
Use aerated, pH-balanced soil or coco for optimal root growth.
Avoid this unless absolutely necessary to prevent yield loss.
Yes, but handle roots gently and rinse off hydro residues.
Only trim damaged or excessively long roots, if necessary.
They improve nutrient uptake and stress tolerance.
Water only around the root zone and allow proper drainage.
It prevents root rot and ensures oxygen reaches the roots.
Yes, adding pebbles at the bottom improves aeration.
Most plants recover in 1–3 days with proper care.
Look for dense root spirals or slow growth.
Νοταε
Topics
transplanting, root development, soil, coco, hydroponics, shock
Focus Keyword
cannabis transplanting root development
Description
When to transplant, how to do it without stress, and what changes between soil, coco and hydroponics. The step most growers rush — and why it matters more than they think.
A living archive of cannabis—its cultivation in practice and its traces across science, culture, language, power and memory.
Join early.
Keep the archive open.
The VADEMECUM is becoming a living archive of guides, tools, notes and practical plant knowledge.
Free member access. Join early. Keep the archive open.

Join early.
Keep the
archive open.
The VADEMECUM is not just a book anymore. It is becoming a living archive of guides, tools, notes and practical plant knowledge.
Free member access. Join early. Keep the archive open.
The VADEMECUM is becoming a living archive of practical plant knowledge.
Free member access.